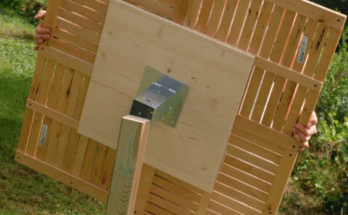
🛠️ How to Build This Table Frame (Leg Assembly)
🔧 Materials:
-
2×4 or 4×4 lumber for legs and braces
-
Wood screws or lag bolts
-
Wood glue (optional for added strength)
-
Saw, drill, square, and measuring tape
🪚 Components in the Design:
-
Vertical Leg – Main upright post (thick and strong, likely a 4×4)
-
Base Support – Horizontal piece at the floor, holding the leg in place
-
Diagonal Braces – Angled 2x4s connecting the leg to the base and underside of the tabletop
-
Top Rail – Horizontal piece supporting the tabletop
-
Center Brace – A diagonal or horizontal connecting beam between braces for added strength
✅ Steps:
-
Build the Leg Frame:
-
Cut and attach the base to the vertical leg using screws and wood glue.
-
Secure a top rail across the top for tabletop support.
-
-
Add Bracing:
-
Cut two 2x4s at 45° angles to act as braces from the bottom base to the leg.
-
Add another brace from the leg upward to the top rail.
-
Secure each brace with screws through pilot holes to prevent splitting.
-
-
Mirror the Leg Frame:
-
Build a second identical frame for the opposite end.
-
-
Join Both Ends:
-
Use long cross beams or stringers to connect the two leg assemblies.
-
Mount the tabletop securely using screws from underneath.
-